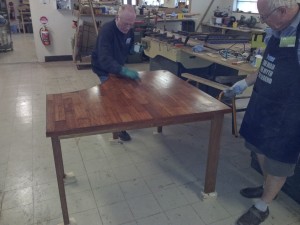
Finished Table
This is the finished Custom Computer Table that our shed was commissioned to create. A lady approached our team at one of the Parramatta Farmer’s Markets and requested if our shed could convert a series of left over Jarrah parquetry pieces from her floor into a table …. and that is how it started.
Our team came up with a design which included a curved front and provide the client with a quote, which was subsequently accepted and work began.
Our client was thankfully not in a major rush and said we could take up to 4 months ….. we thought this was reasonable …..
The process involved our team learning a whole range of new skills and the input from one of our EXPERT members to construction methods and refining of the design proved in-valuable.

Creating table top
The slowest part of the whole job was actually working out how to and then building the table top from the supplied parquetry pieces. Each piece had to be squared all round, biscuit joints put in and then assembled and glued and clamped down firmly so as to provide a structurally solid and flat finish. This took over a month to do on it’s own. Our member had to develop jigs to keep everything true, consistant and accurate. It was very much a slow process done a row at a time. Everything was numbered as it was squared to ensure best fit and look.
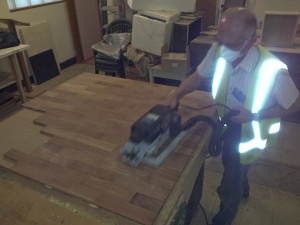
Sanding Table Top
We then used a Festool sander and outrigger to sand the top many many times starting with a 40 grit and eventually finishing with an 800 grit sand paper. This was a critical part of the process to ensure that the table top was perfectly flat, even and most importantly appealing. Dust was a problem so safety gear was always worn and we had overhead dust extraction sytems going the whole time.
Several coats of special finish were applied to complete the effect of beautiful natural timber grains.
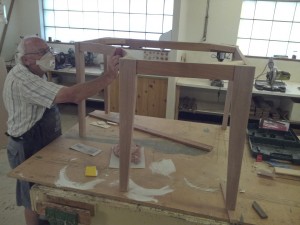
Table Base
While the table top was industriously being completed another team member embarked on building from the gound up, the base for the table top. This was also a major piece of carpentry work and many new jointing techniques were learnt along the way ….. more importantly the correct way to ensure that everything was square and in alignment. Mortice and Tennon joints were employed in the legs. The timber was then sanded to the same quality as the table top and then stained and varnished to provide a similar appearance to the table top.
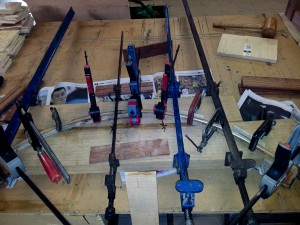
Curved Jig
One of the more interesting techniques that our shed members learnt was to bend timber into an accurate pre-defined arc. It required constructing a jig of the curavture required, cutting the timber into thin strips and then glueing them together strip by strip to form the required thickness and then applying the calmps to the jig to bend the timber into shape. It was then left for a week for the glue to dry and the timber to mould correctly. Then carefully and accurately fitted to the table base ….. and SURPISE … the table top fitted perfectly and was level and aligned …. the team was so thrilled at the result.
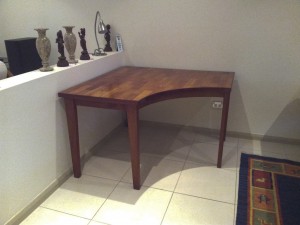
Happy Ending
Our client was ECSTATIC when we delivered it to her home and placed it in it’s resting place …. Our client wishes to remain anonymous but we are sure you can tell who it is by the BIG smile of satisfaction on their face …. look out for them next time you are at Parramatta Centennary Square!!!!!!!
